August 28 2013
DIY {Marquee Letters}
Build Your Own Marquee Letters.
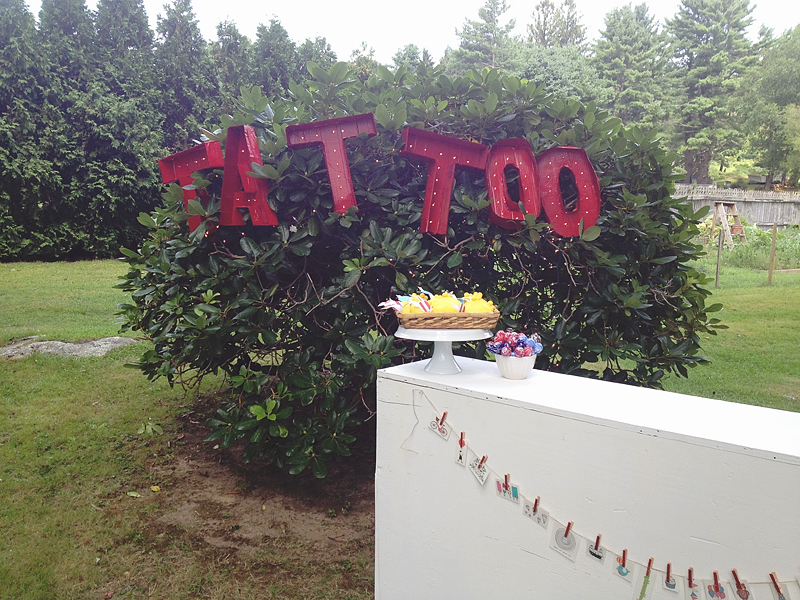
For Charlie’s 3rd Birthday, we went with a Tattly party – as HUGE fans of swissmiss her her designy tattoos, it was an easy choice. From there, we simply had to round out the concept, and a tattoo booth quickly seemed logical!
Because of our MoPa events, we have a carriage house spilling over with cardboard boxes, and I knew they would come in handy since I am a big crafter. Enter these “Hand-crafted Marquee Letters!”
SUPPLIES:
Cardboard
Scissors or a matt knive
Pencil
Packing or craft tape
2 Cans spray paint
Twinkle lights
CRAFT TIP:
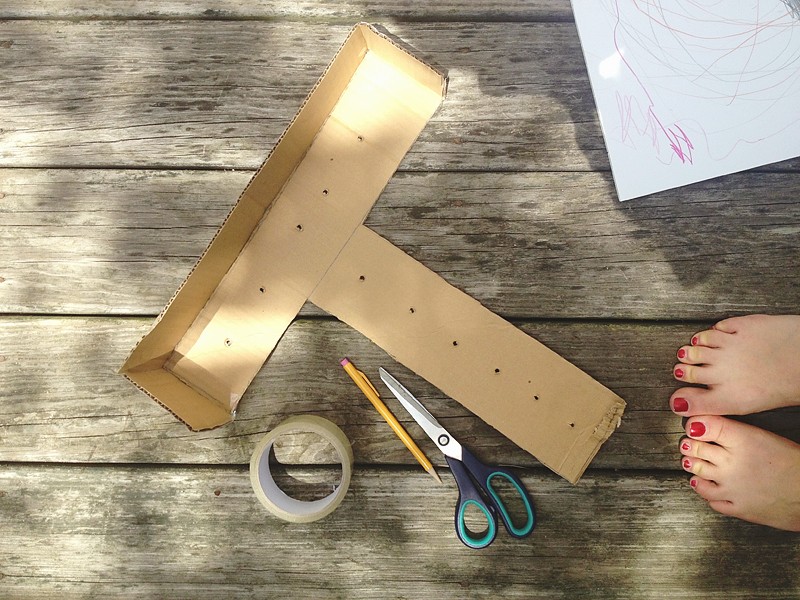
Don’t strive for perfection! It’s crafting. I keep most of my projects far from perfection. I love things that have a hand-crafted quality to them, so I’m not going to give letter dimensions or templates, and suggest you simply draw out block letters freehand. I know, crazy right – nope!
It worked very well here. The only letter that offered a challenge was the “O” but again – it’s a craft so we’re fine with the end result.
ASSEMBLY:
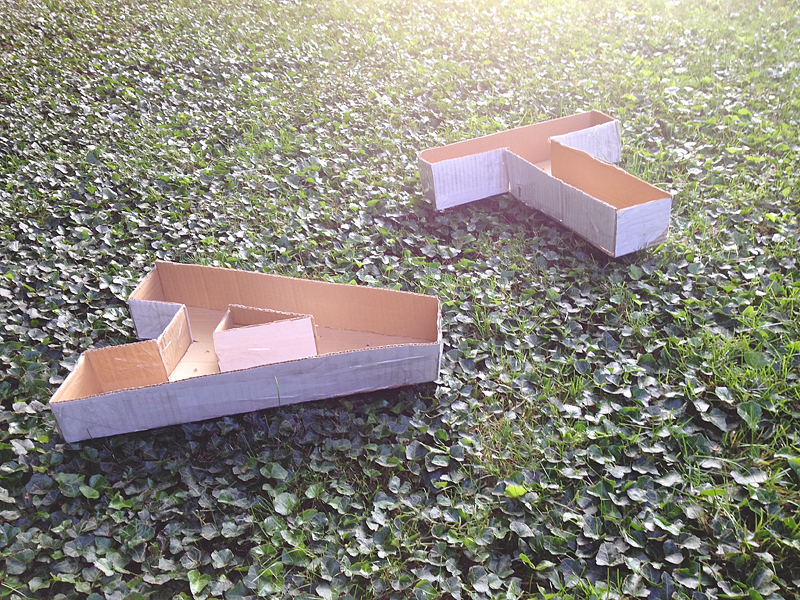
From there you simply cut out the letter with scissors. You’ll also want to use extra cardboard pieces to fit out & cut a “lip” for each side of each letter.
Next step is assembly. Grab yourself some tape and affix each lip-side to the backside of the cardboard letter. From there you should have a crafted marquee letter! Pretty easy stuff.
Then there’s light: I suggest you use a strand of twinkle lights to measure, and gently puncture a hole on the backside of each letter. This ensures even spacing and a snug fit for the light strand.
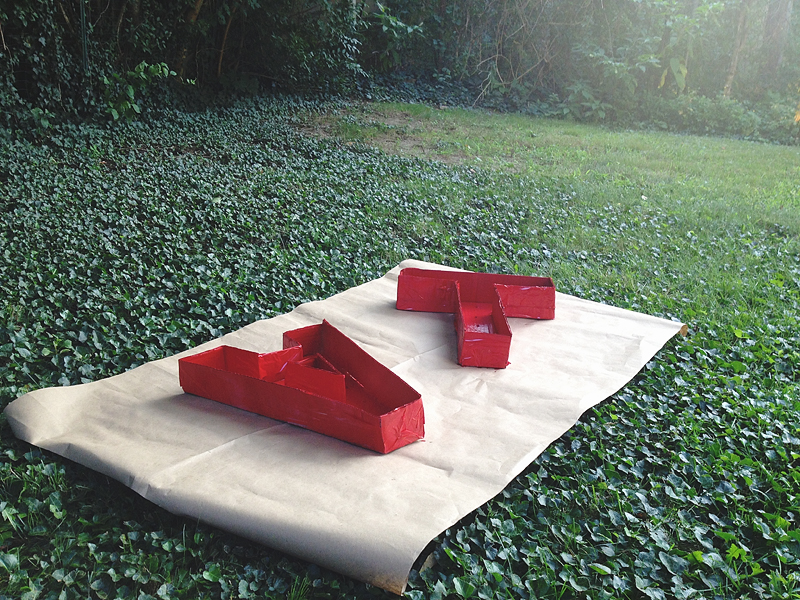
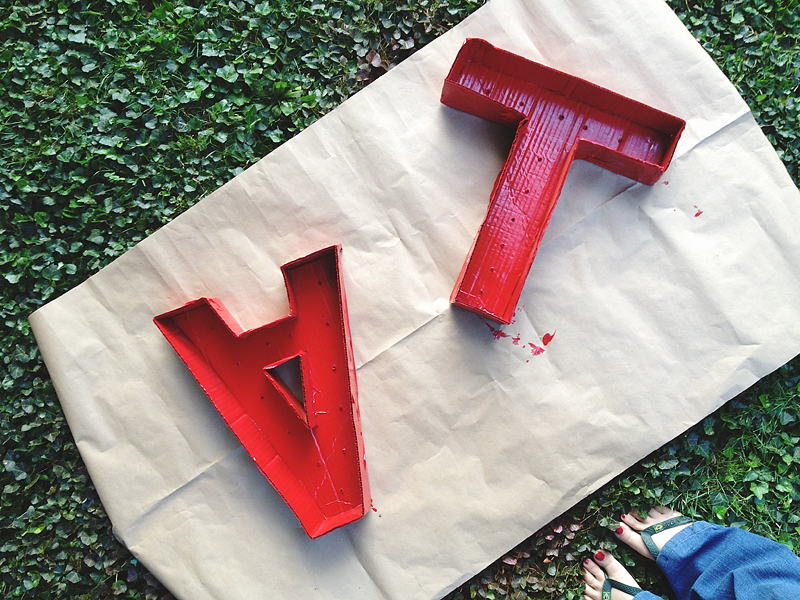
Once you’ve punctured the light holes, remove the twinkle lights and set aside. Place the finished marquee letter outside to paint. I went with candy apple red, and gave each letter two coats. Let dry.
Once the paint dried overnight, I added the twinkle strand to the backside of each marquee letter. This will require more than two hands, even more tape and some patients. But it’s worth it. Once the lights are secured to the backside of your letter, your marquee letters are complete.
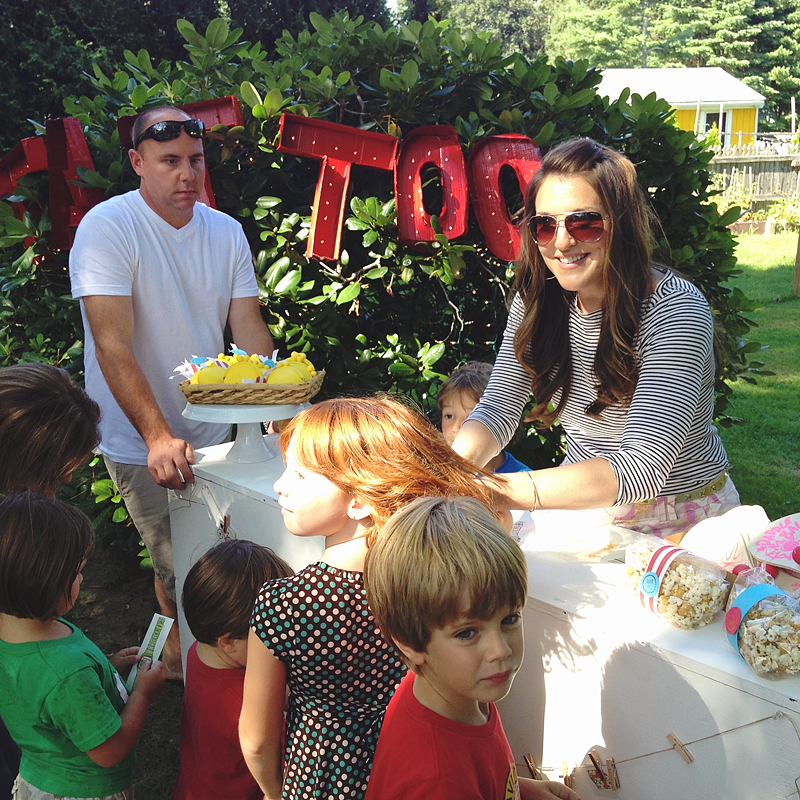
Because I had the cardboard, and most of the supplies in my craft studio – this project cost me 2 cans of spray paint – total. It created some major impact at the party (it was like broadway in our backyard).
Have you made marquee letters at home? Let me know in the comments below!




I LOVE this! I have wanted marquee letters forever but Im too cheap and this is PERFECT!